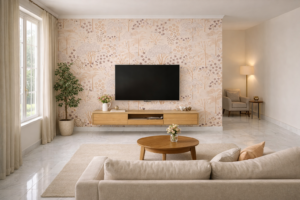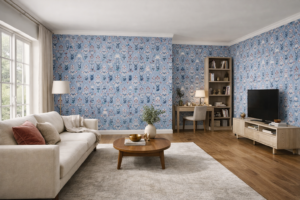
Wallpaper can completely transform a space — but only when installed correctly. Even the most premium design can look uneven or peel early if the wallpaper installation process isn’t handled with care.
If you’re planning a DIY project or supervising professionals, understanding the right wallpaper installation tips will help you achieve a flawless, long-lasting finish. This guide walks you through preparation, application, common mistakes, and practical wallpaper maintenance advice to keep your walls looking fresh for years.
Things to Do Before Wallpaper Installation
Preparation is where most of the success lies. Skipping this stage often leads to peeling edges, visible bumps, or poor adhesion.
Wall Preparation
Proper wall preparation ensures the wallpaper adhesive bonds correctly and the surface looks smooth.
Here’s what you should do:
- Clean the walls thoroughly – Remove dust, grease, and stains. Even minor dirt can prevent proper adhesion.
- Repair cracks and holes – Use filler to smooth out imperfections. Sand the surface once dry.
- Remove old wallpaper completely – Any leftover backing can create uneven textures.
- Apply primer if required – Priming helps the adhesive grip better and makes future removal easier.
- Ensure walls are dry and smooth – Moisture can cause bubbling and peeling over time.
A properly prepared wall is flat, clean, dry, and slightly sealed — never dusty or glossy.
Choosing the Right Adhesive
Not all wallpaper adhesive types are the same. The choice depends on your wallpaper material:
- Paper-based wallpaper – Standard pre-mixed adhesive works well.
- Vinyl wallpaper – Requires stronger adhesive for heavier weight.
- Fabric or textured wallpaper – Often needs heavy-duty paste.
- Peel-and-stick wallpaper – Comes with built-in adhesive, but walls must be extra smooth.
Using the wrong adhesive can lead to slipping panels, open seams, or peeling edges. Always follow manufacturer recommendations and check drying time before starting.
Step-by-Step Wallpaper Installation Process
A systematic approach makes the wallpaper installation process smooth and stress-free.
Measuring Walls
Accurate measurement prevents wastage and pattern mismatches.
- Measure the height and width of each wall.
- Calculate total square footage.
- Add 10–15% extra for trimming and pattern matching.
- Mark vertical guideline lines using a level — never rely solely on corners, as they’re rarely perfectly straight.
Taking time at this stage saves money and prevents frustration later.
Applying Wallpaper
Once your measurements and cuts are ready, it’s time to install.
- Cut panels according to wall height, allowing extra inches at top and bottom.
- Apply wallpaper adhesive evenly (unless using peel-and-stick).
- Start from the top and work downward.
- Use a smoothing tool or soft brush to press the wallpaper onto the wall.
Work slowly. Rushing is one of the main reasons for wrinkles and misalignment.
Aligning Patterns
If your wallpaper has a repeat pattern, alignment is crucial.
- Match the design before applying the next strip.
- Lay panels side-by-side on the floor first to confirm alignment.
- Avoid stretching the wallpaper — this causes shrinkage once dry.
Pattern mismatches are difficult to fix once adhesive sets, so double-check before pressing firmly.
Removing Air Bubbles
Air bubbles are common but easy to fix if addressed immediately.
- Smooth from the center outward using a wallpaper smoother.
- Push trapped air toward the edges.
- For small persistent bubbles, gently lift and re-smooth before the adhesive dries.
Never puncture bubbles unless absolutely necessary — it can damage the surface.
Common Wallpaper Installation Mistakes
Even experienced installers sometimes overlook small details. Avoid these common errors:
- Skipping wall preparation
- Using incorrect wallpaper adhesive
- Not checking pattern alignment
- Applying too much or too little paste
- Ignoring drying time recommendations
- Installing wallpaper on damp walls
- Not using a level for straight alignment
Most wallpaper failures are not due to quality but improper installation technique.
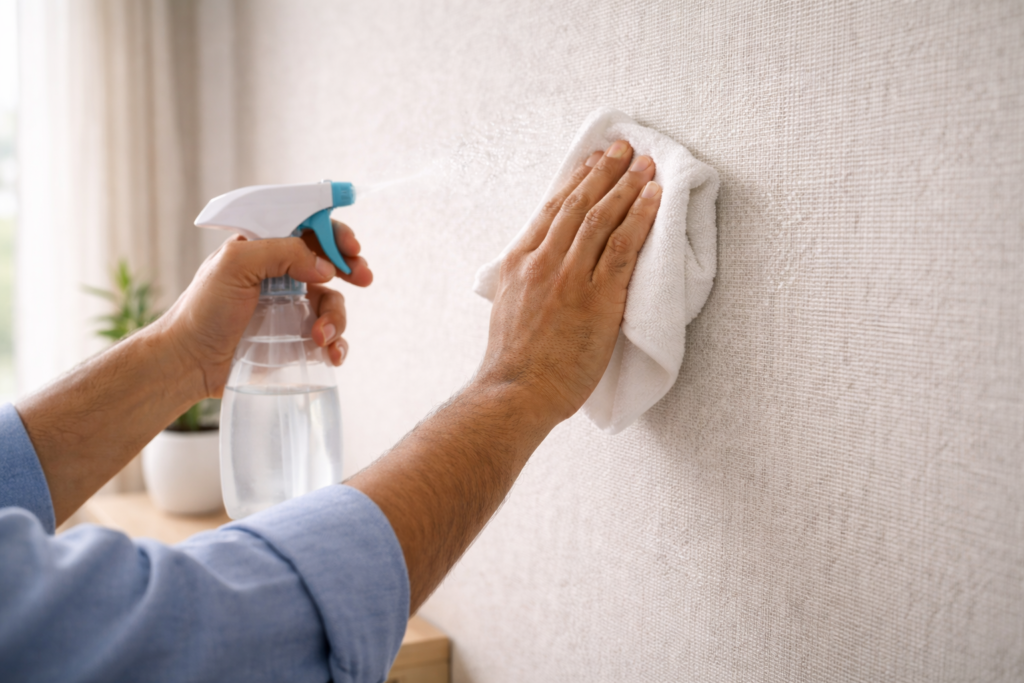
Wallpaper Maintenance Tips
Once installed, proper wallpaper maintenance keeps your walls looking new for years.
- Dust regularly using a soft cloth or vacuum with brush attachment.
- Spot clean gently with a damp cloth (for washable wallpapers).
- Avoid excessive moisture in non-waterproof wallpaper areas.
- Keep furniture slightly away from walls to prevent friction damage.
- Fix lifting edges early with small adhesive touch-ups.
For kitchens and high-traffic areas, choose washable or vinyl-coated options for easier maintenance.
Good care not only preserves appearance but also extends lifespan significantly.
Installing wallpaper is not just about sticking panels onto a wall — it’s about precision, preparation, and patience. When done correctly, wallpaper can enhance depth, warmth, and personality in any room while staying beautiful for years.
Follow these wallpaper installation tips carefully, and you’ll enjoy a smooth finish and long-lasting results that truly elevate your interiors.
Discover premium wallpaper for wall with Eximus – website, YouTube channel, Facebook, and Instagram, and discover our curated collection of designer wallpapers. Reach us at +91 8828151202.